Skip to navigation
Skip to content
Search for:
Search
Menu
Shop
Workshops
Visit Us
Shop
Workshops
Visit Us
£
0.00
0 items
Home
/
Author: admin
/
Page 2
Author:
admin
Posted on
April 29, 2019
February 22, 2021
by
admin
How to make a Kids Bracelet
Posted on
April 29, 2019
February 22, 2021
by
admin
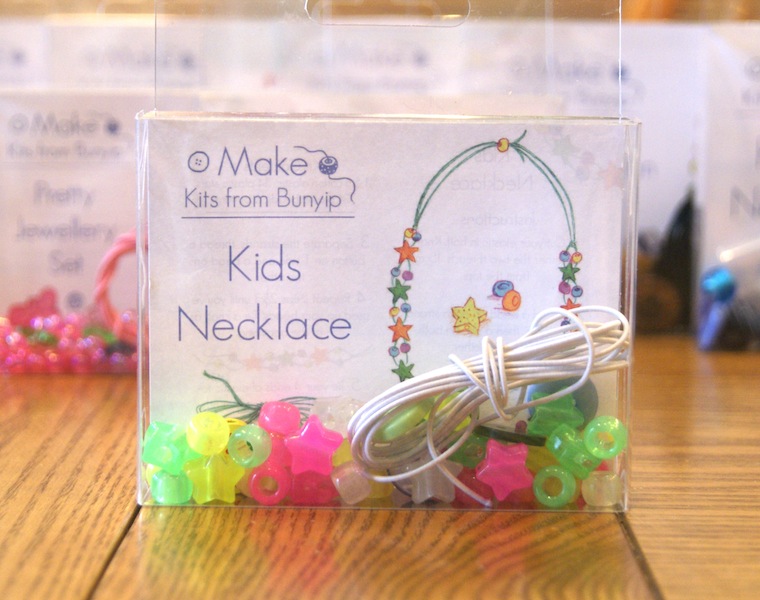
How to make a Kids Necklace
Posted on
April 29, 2019
February 22, 2021
by
admin
How to make a Button & Donut Necklace
Posted on
April 15, 2019
February 22, 2021
by
admin
How to Make an Infinity Scarf
Posts pagination
Previous
1
2