
I got my first sewing machine 13 years ago and, to be honest, I just muddled along. I had my fair share of ‘how on earth did I do that!?’ and ‘why can’t I do this!’ conversations with myself and learnt as I went. Recently I’ve tried more advanced sewing techniques and it got me thinking about what I would tell my 18 year old self to make her sewing going more smoothly. So here’s a mixture of tips and just things that are really useful to know.
10. Zips aren’t scary. Yes, even invisible zips. I used to get myself in such a tizz at the mere thought of inserting a zip. I remember very clearly pacing around the room before finally sitting down at my machine in some sort of terrified state. But now, a zip is one of the easiest parts of a project and no longer do my invisible zips look far less than invisible…
When it comes to invisible zips my ‘trick’ is definitely to use the correct foot. And to iron the zip first. More on this in another post.
 9. This button is actually there for a reason… and it’s actually really useful! I’ve recently starting sewing with really thick fabrics and this magic button makes this easier. You press it before lowering your presser foot and it keeps it level. When this is no longer needed, the button pops out and you can sew normally. Now I bet you’re going to go and try that now aren’t you?
8. Your shop bought size is never your sewing pattern size. The first pattern I ever bought, I immediately made a size 8; that’s what I wore so what could go wrong? Well a lot of things actually but the main being it didn’t fit. Now I always check the measurements on the packet and compare them to my own. Even then it’s still not always right. So if I’m sewing with an expensive fabric, then I’ll make a mock up (or toille) of the item in a cheaper fabric so I can adjust it if need be.
7. Sometimes you’ll just wing it when a pattern doesn’t seem to make any sense. Some patterns, such as Tilly and the Buttons patterns, are great because they have step by step photographs to follow and lots of online support. Other patterns however…. I’ve recently used a pattern from one of the ‘Big 4’ (Butterick, McCalls, Simplicity and Vogue) and the instructions were AWFUL! I read, I reread, I asked other people to read it… but I was getting nowhere. In the end I just went with my gut and used my experience and it worked out ok. Now I couldn’t have done that when I started necessarily but I probably wouldn’t have had the confidence to even try.
6. There is a way to make your stitching straight. When I started sewing I would keep my eye on the needle and, inevitably, my stitching wouldn’t be straight. Instead, I use the guide lines on my sewing machine. Normally when making clothes I have a seam allowance of 5/8″ so I just line up my fabric with that line and voila, much more accurate sewing.

5. You don’t need to pull the fabric as you sew. When I started sewing I’d pull on the fabric as I was sewing because I thought I had to do this to pull it through. Not the case. Machines have ‘feed dogs’ which are the metal ridges you can see in the photo below. These move as you sew and grip the bottom fabric helping it to pass through smoothly. So by pulling my fabric, I was skipping stitches as the fabric was passing through too quickly.

4. Jersey isn’t that scary Now this is a relatively recent revelation for me. I’d put off using jersey until last year and I wish I’d started using it sooner. There’s no need for zips or buttons and it isn’t half as bad to use as people say. I found that using my walking foot really helped. The walking foot (see below) is designed to have an extra set of feed dogs for the top fabric. It basically keeps it all together! My other trick is to cut using a rotary cutter as it really reduces stretching when cutting.
3. Ironing is essential I hate (and hardy ever do) ironing when it comes to my already-made or shop bought items but it really is essential when sewing; particularly clothes. So why iron?
- Ironing before cutting eliminates inaccuracies
- It helps seams to sit flat and therefore look more polished.
- You can manipulate fabrics, particularly wool, in to different shapes by stretching and shrinking it.
- It just makes the finished item look better. Simple.
2. There is a hidden compartment in a lot of your sewing threads. Again, this is relatively new to me. It doesn’t really help with my sewing but it’s interesting. Most threads have a little bit at the bottom that detaches; this is mainly for keeping the thread secure. But if you remove it, you have a little compartment for needles for on the move sewing. Just seal up the hole with tack or something similar.
1. You will ALWAYS have to use a stitch unpicker. On every project. Embrace it.

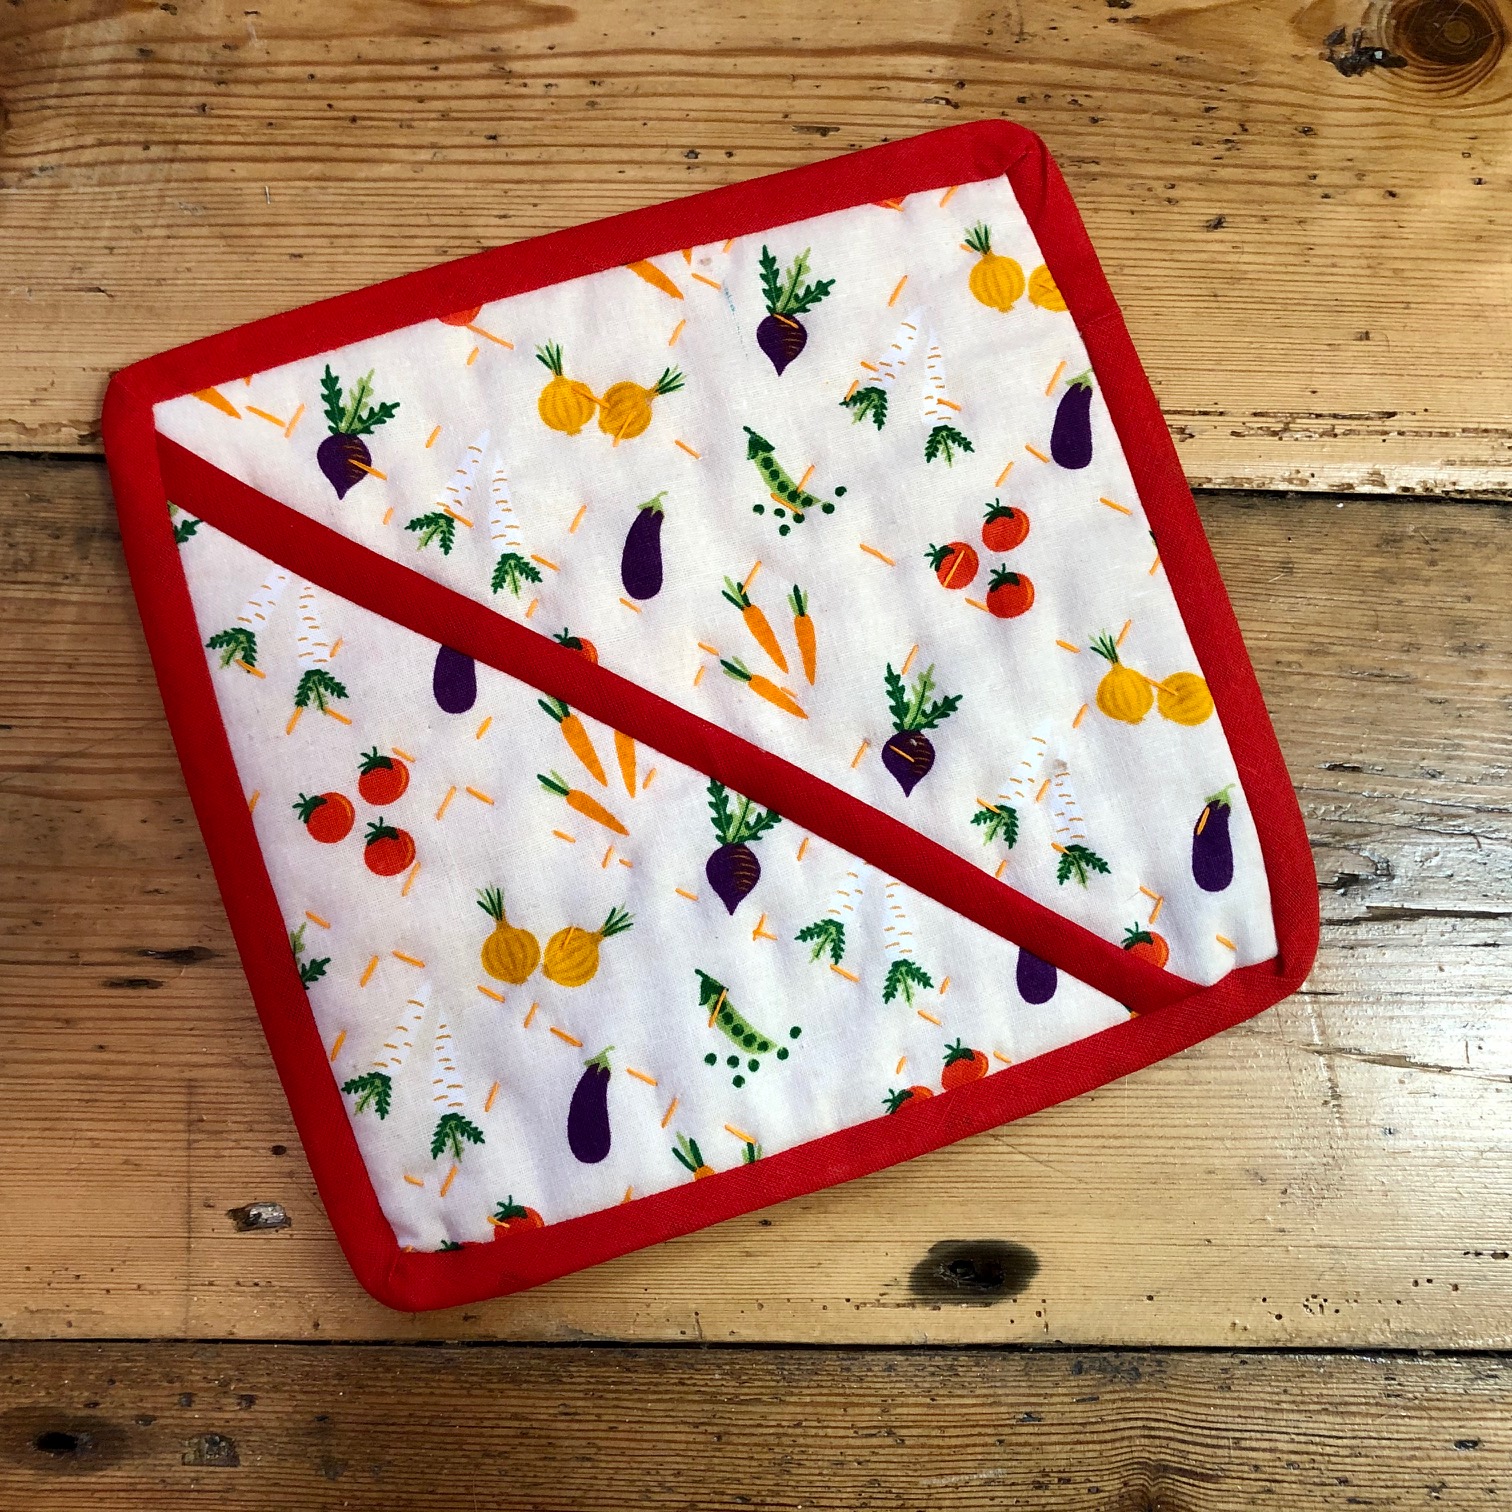
 You will need:Materials: