
1- Fabric scissors are the best way to cut your fabric efficiently, but make sure they stay sharp for years to come by only cutting fabric with them and absolutely do not let anyone put paper anywhere near them!
2- Needles are an obvious one here, but different types are needed for all different kind of projects, whether it be embroidery, darning or cross stitch, at Bunyip Craft we are fully equipped with all you could ever need or want from a needle.
3- So it’s the -very rare- occasion that you made a mistake, well don’t worry because the unpicker can make all those mistakes disappear and you can start again!
4- Thread holds the foundation of your sewing projects and can also be used to add a pop of colour to anything that is looking a bit too plain. Bunyip Craft has a rainbow of colours to help you match your fabric or not.
5- So you don’t have the eyesight of your dreams? Well neither do we, so the needle threader is the only clear way to avoid sitting there with no luck so let’s make sure that you can start your sew pronto and continue to do what you enjoy.
6- When making any sort of garment, getting the right measurements is essential and the only item to help you with that is of course the tape measure!
7- We know zips can be tricky, but have no fear for the hook & eyes can save you from the disaster of a wonky zip, or just as a different way to secure any part of your garment.
8- Holes in your fabric from pinning are so annoying, use clips instead to make sure that machine sewing goes by without a hitch and protects your fabric.
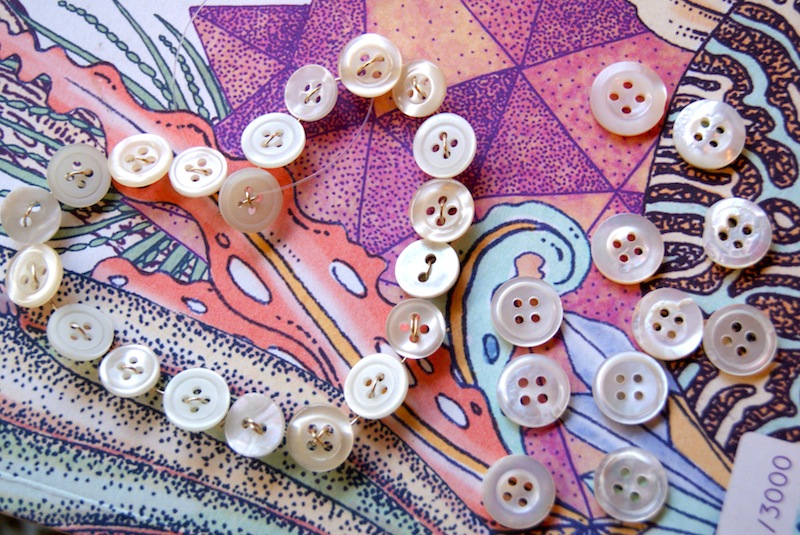
9- Here at Bunyip Craft we adore buttons! They are the best way to fasten your piece as well as giving that pop of colour and showing off your button sewing skills.
10- And finally the unsung hero of sewing is tailors chalk, which can make sure that your stitching never goes astray, it washes right off and comes in many colours depending on what your fabric requires.
We have all of your sewing essentials and so much more in the shop or on the website, so use this as your chance to get sewing this summer.